When I started having problems with the width of the Brooks B17 on my roadbike, I received many excellent suggestions from readers. I also received a suggestion from several staff members at
Harris Cyclery: a
Gilles Berthoud.
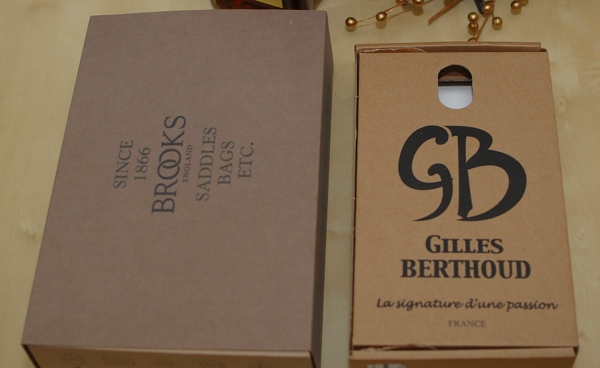
Bethoud saddles and luggage are made in France and are associated with exquisite
randonneuring bicycles. It is generally agreed that their handlebar bags are the finest one can get, and several respected members of the industry describe the saddles as being "even better" than
Brooks. However, I was both skeptical of that description and weary of the high price tag. When I returned to
Harris Cyclery the following week, I still had not decided what saddle to get, and they suggested that Itry the
Berthoud and see what I think. So I now have the saddle on loan, and have ridden with it on my
Bianchi roadbike.

The saddle I have is a
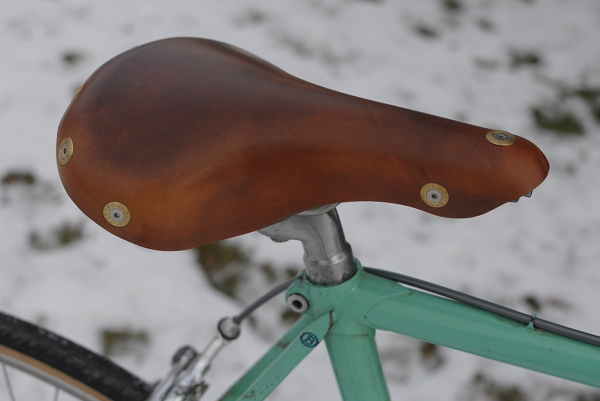
Gilles Berthoudtouring model, which is available in three different colours (black, natural and cork), with regular or titanium rails, and in either a man's or a woman's length. Mine is the woman's version, which is the same width as the men's (160mm), but with a shorter nose. You can read the detailed specs for these saddleshere. The woman's model is called the "Marie Blanque"- after a short, steep climb in the French Pyrenees.
The
Berthoud differs from
Brooks and the other leather saddles available today in several ways. The leather is stretched using a different method - a modular system involving bolts instead of rivets. This system allows for the saddle to be taken a part and also for more control over tension adjustment. The leather is somewhat thicker than that of other brands.
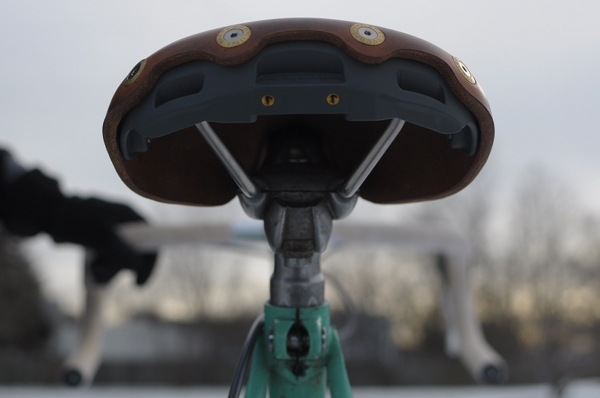
The undercarriage consists of metal rails combined with apolycarbonate (plastic) rear support, which accommodates the proprietary
Berthoud "Klikfix" saddlebag attachments. The openings can probably also be used with standard saddlebag straps, though I have not yet tried to attach one. This aspect is where the
Berthoud saddles receive most of their criticism: "Not only is the saddle more expensive, but it has plastic parts?" However, both
Berthoud and fans of the saddle insist that this construction method is superior in terms of comfort and adjustment possibilities, and is not prone to failure. I am cautiously open-minded on this, and would be curious to know the statistics of
Brooks vs
Berthoud saddle failure.
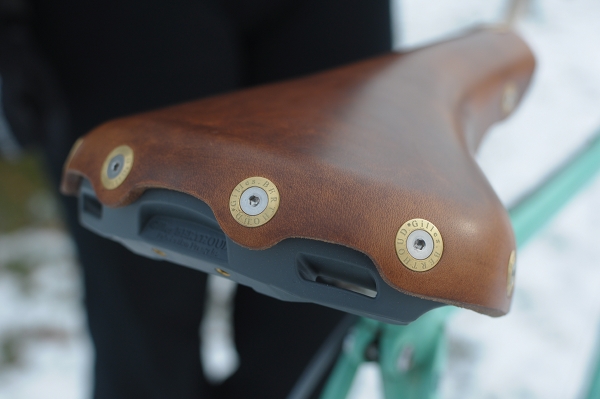
Another distinct feature of the
Berthoud's design, is that the bolts (not rivets) are located behind and below the surface of the saddle - so that the cyclist's rear end does not come in contact with them no matter how far back they sit. This will make a huge difference to those who are bothered by the texture of the rivets on other leather saddles.
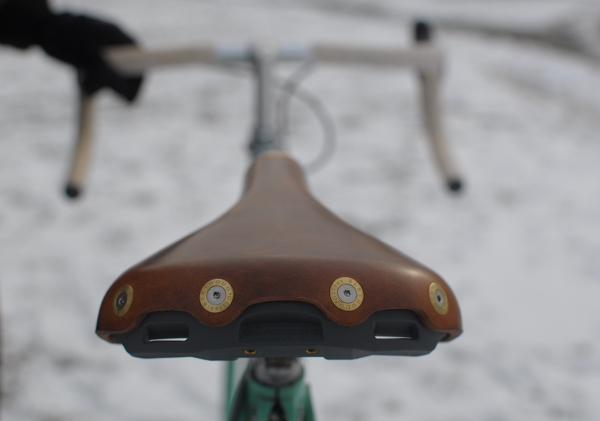
Finally, the very shape of the saddle is different than what I have gotten used to from
Brooks. The
Berthoud's surface platform is completely flat, whereas the surface of
Brooks has "undulations" to it (some call it the "banana shape"). As a result, the
Berthoud works best when mounted completely level - whereas I mount the
Brooks with the nose pointing slightly up, in order to not slide forward.
An additional difference, is the
Berthoud's relative lack of "side skirts" (compare it to the
Brookshere). Despite being classified as a touring saddle, the leather on the
Berthoud is closely trimmed along the sides - typical of a much more aggressive saddle in the
Brooks range.
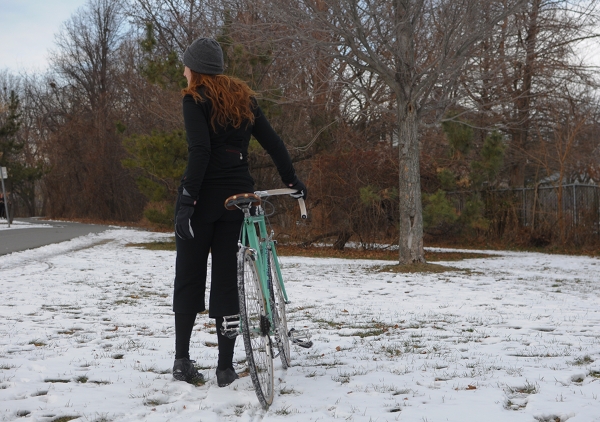
My experience riding on the
Berthoud is limited to a short (12 miles or so) winter ride, but here are my impressions so far: The saddle felt "just right" out of the box and I simply forgot about it once I got on the bike and began cycling (no padded shorts). Because the
Bianchiis a bit big on me, I am leaned forward on it considerably. The saddle did not feel too wide (it is 10mm narrower than a lady's
Brooks B17) and my legs did not rub against the "side skirts". Because the
Berthoud is level, the nose does not come into contact with any sensitive areas. With
Brooks road saddles, I need to make a lot of adjustments to get this aspect just right - but the
Berthoud seems to naturally stay away from that region. As I was cycling, I was not so much experiencing any of this, as
not experiencing anything. I was taken with the winter scenery and genuinely forgot that I was supposed to be trying the saddle and forming impressions of it. There
were no impressions, and only later did I realise that this in itself meant that the saddle was comfortable.
I have to admit that I am "emotionally biased" towards
Brooks, which is an obstacle to recognising that the
Berthoudsuits me better - at least on roadbikes with considerable forward lean. The
Berthoud basically gives me the width of a touring saddle with the side cut-outs of a racing saddle - plus the shape does not interfere with my "lady areas". In that sense, it is also more versatile, and I can see myself using it both on a touring bike and on a more aggressive roadbike. All this is exactly what I need. But... a $200+ saddle? I suppose that if I sell my spare
Brooks B17S and the titanium-rail
Brooks Finesse that I received in a trade but find unridable, that would give me the funds. But it still feels like an overindulgence and Ineed to think about it. Regardless of whether I keep the saddle or not, I hope this write-up was helpful to those considering a
Berthoud.


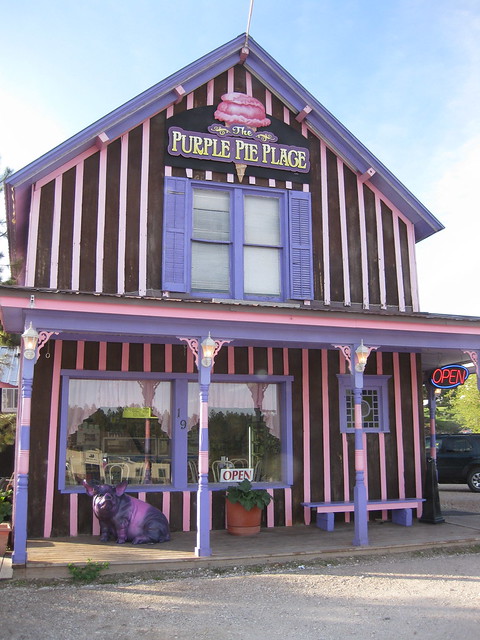
 Unfortunately no pictures allowed in the Museum but this is pic of some of his work in the Lobby.


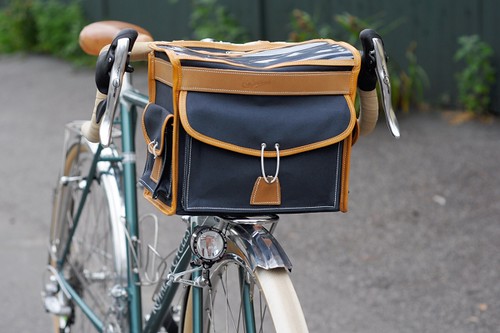 I finally received a Giles Berthoud handlebar bag for the Randonneur. It's the Model 25 in gray, which is their medium size and features elastic ties for the pockets instead of leather straps.
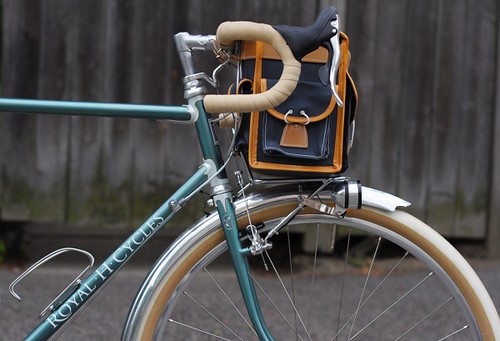 The visual presence of this bag is almost too much for me. There is something about its colour scheme and construction that says "I am French and I am exquisite," and I find this both interesting and intimidating.
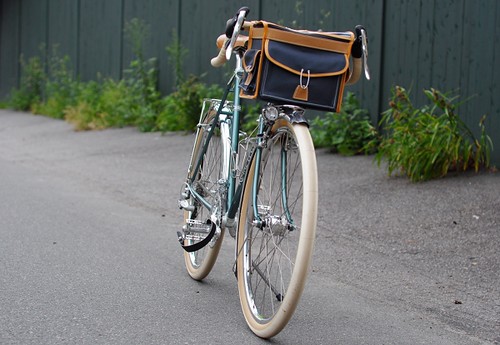 But happily, the Berthoud does not overwhelm the aesthetics of the bicycle. The size is a perfect fit. And the darker fabric and lighter leather combination parallels the contrast between the frame and lugwork. In comparison, the Ostrich handlebar bag on my own bike is more drab and also more bulky.
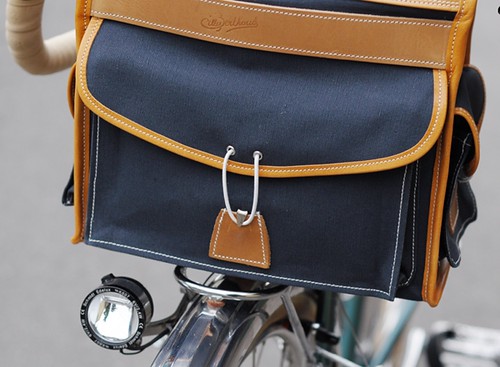 The bag has a large front pocket,
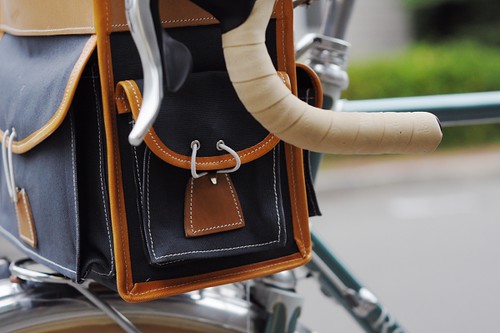 two side pockets
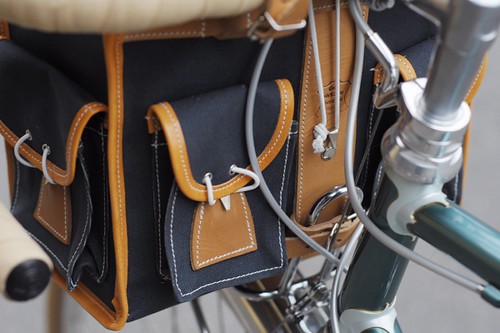 and two rear pockets. The top flap closes toward, rather than away from the cyclist, which is the opposite of what I am used to with the Ostrichand makes it counterintuitive for me to use - but this is of course user-specific. You can see that leather straps are provided for wrapping around the back of the rack. However, there are no provisions for securing the bag to the rack's platform, which surprised me (Ostrich includes straps for this). I know that some devise DIY systems, and if you've done so I'd love to hear about your process.
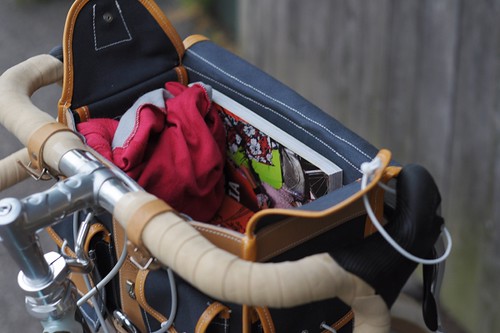 There are leather straps provided for attaching the bag to the handebars, though most opt for installing a decaleur. And here is where we are experiencing a little glitch. Ideally, the owner would prefer to forgo a decaleur: He plans to ride both with and without the bag, and a bagless decaleur sticking out of the bicycle doesn't look great (I agree). The handlebar straps hold the bag up fine, but without being secured on the bottom it bounces on the rack when filled with stuff and going over bumps. I am also told that the bag can move from side to side without a decaleur, though I haven't experienced thisyetduring my one test ride so far(with 10lb of weight in the bag).
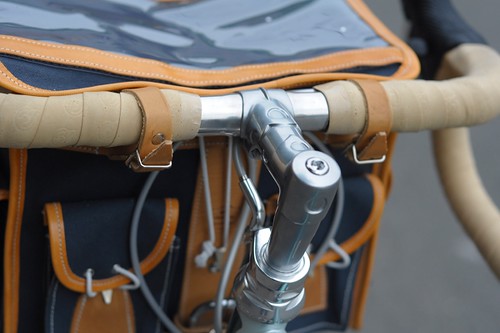 As far as decaleurs go, we had planned to use one of theseif going without proved impossible, but I have since been warned that using it with the Nitto lugged stem (as opposed to the regular Technomic stem) is not a good idea, for complicated reasons related to clamp compatibility that I won't go into here. An alternative would be Berthoud's own decaleur, but it too apparently presents issues with the lugged stem - plus it is fairly obtrusive without the bag on. A headset-mounted decaleur is not possible here, because it would sit too low. So I am seeking a solution, and also wondering whether securing the bag at the bottom would in itself solve the problem. The bag is not nearly as large as my Ostrich, and I know that some do manage to use it without a decaleur. Sharing of experiences in this regard would be most appreciated.